
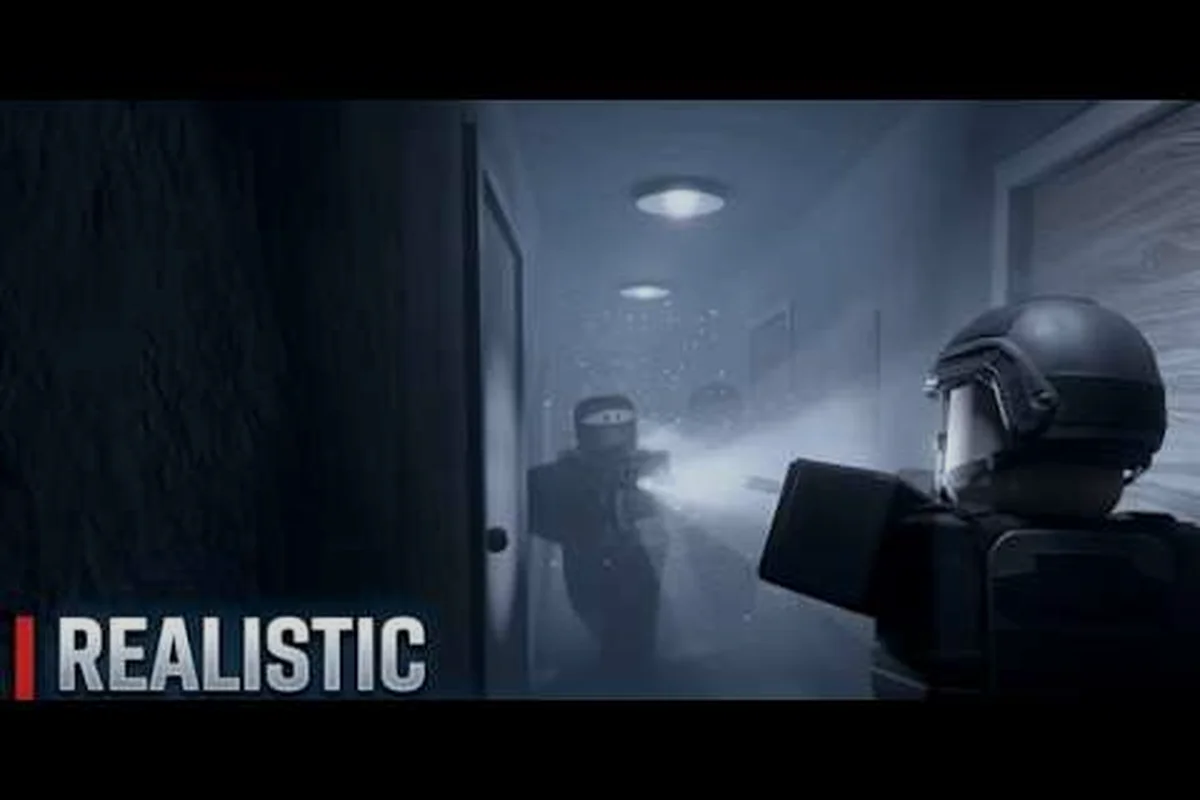
Good defensive positioning in REALISTIC HOME DEFENSE decides whether a raid ends in thirty seconds or drags into a losing firefight, and it starts with picking corners that force attackers into your line of fire. This guide breaks down how to hold corners, time your peeks, and switch fire modes so every doorway becomes a trap instead of a liability.
Most players lose their house not because they aim badly, but because they stand in the wrong spot when the first enemy breaches. Positioning is the cheapest skill to improve: it costs no money, no upgrades, and no rare gear. You just need to understand sightlines, cover, and the fire-mode system well enough to make the geometry of your home work for you. Get that right and even a modest loadout holds against waves that used to flatten you.
For a closer look at how these positioning principles play out in practice, the U.S. Concealed Carry Association's home defense walkthrough demonstrates real-world room-clearing and hold-position scenarios that illustrate these concepts.
Why Defensive Positioning Wins More Fights Than Aim
Aim matters, but positioning decides whether you get to aim at all. When you stand in the open, the enemy sees you first and fires first, and in a game built around realistic damage, the first accurate burst usually ends the exchange. Defensive positioning flips that relationship by putting hard cover between you and the approach, so the attacker has to commit before they can even see your silhouette.
The core idea is sightline control. Every doorway, window, and hallway gives you a predictable angle where an enemy must appear. If you stand where that angle favors you, you see them a fraction of a second before they see you, and that fraction is the whole fight. Community players consistently report that holding a prepared angle beats roaming the house looking for contact, because roaming exposes you to angles you have not checked.
Here is how the three main defensive stances compare in practice: the open room center leaves you exposed to every entry point and is never worth holding, the doorway edge lets you pie-slice a room before committing but can be pushed from a second door, and the deep corner behind hard cover keeps your silhouette hidden while funneling attackers into your prepared sightline. The trade-off is mobility — a deep corner absorbs the first burst but traps you if you never reposition, so treat it as a firing point you rotate between rather than a spot you camp. Pair that positioning with fire discipline: switch to semi-auto for the long-angle hold and save automatic fire for close pushes, since spraying from a static corner wastes the accuracy advantage your setup just bought you.
| Stance | Exposure | Best Use | Risk |
|---|---|---|---|
| Open room center | Very high | Never recommended | Seen from every entry point |
| Doorway edge (pie slice) | Medium | Checking a room before entering | Pushed from a second door |
| Deep corner with cover | Low | Holding a funnel point | Flanked if you never reposition |
| Behind hard furniture | Low | Absorbing the first burst | Limited escape route |
The takeaway is simple: deep corners and hard cover win fights, open floor space loses them. If you want a broader foundation on reading the map and understanding how raids flow, the beginner-friendly game explained guide walks through the basics before you start drilling angles.
How to Hold Corners Without Getting Flanked
Holding a corner is not the same as hiding in one. A good corner gives you cover on your body while leaving your weapon and eyes free to watch the approach, and it gives you an exit if the fight turns. The mistake most players make is burying themselves so deep that they cannot retreat, then dying to a grenade or a second attacker they never saw coming.
Choosing the Right Corner
Pick corners that sit off the direct line of the doorway, not directly behind it. If you stand straight behind a door, an attacker who pie-slices the frame sees your shoulder before you see them. Step back and to the side so the door frame itself becomes partial cover, and so the attacker has to fully enter the room before they can bring their weapon to bear.
Look for corners with two characteristics: a hard backstop (a wall or heavy furniture you can press against) and a single approach you can watch. Corners with two open sides are traps for you, not for the enemy. When you find a good one, note it and reuse it every round, because repetition builds the muscle memory that makes your first shot faster.
The Peek Timing Rule
Peeking is a rhythm, not a reflex. The rule experienced players follow is peek, confirm, retreat, re-peek from a slightly different height or angle. If you peek the same spot twice in the same way, a competent attacker pre-aims it and wins the trade. Vary your peek by crouching on the second look or leaning from the opposite side, which forces them to re-acquire you.
Timing matters just as much as angle. Peek when you hear footsteps close to the threshold, not when the enemy is still across the map, because an early peek just tells them where you are. The movement guide covers crouch, lean, and sprint timing in more detail, and those mechanics are what make a peek unpredictable.
Fire Mode Switch: The Setting That Decides Your Accuracy
REALISTIC HOME DEFENSE gives you multiple fire modes, and leaving the weapon on the wrong one is one of the most common reasons players miss at close range. Automatic fire sprays a wide cone that is fine for suppressing a doorway at three meters and terrible for a precise shot down a hallway. The fire mode switch lets you match the weapon's behavior to the distance of the fight you expect.
The general rule: switch to semi or burst for anything past a few meters, and save automatic fire for the moment an enemy is already inside your room. Full auto feels powerful, but the recoil climb means your third and fourth rounds are often above the target's head. Tapping single shots at medium range keeps your rounds on the chest, which is where realistic damage actually stops a threat.
| Fire Mode | Effective Range | Recoil Behavior | Best Scenario |
|---|---|---|---|
| Semi-auto | Medium to long | Minimal, one round per trigger | Hallway and stairwell holds |
| Burst | Close to medium | Moderate, resets between bursts | Doorway defense |
| Automatic | Very close | Heavy climb after first rounds | Enemy already inside the room |
| Hip fire | Point blank | Wide spread, no aim time | Surprise contact at arm's length |
Memorizing the fire mode selector's position matters more than it sounds, because REALISTIC HOME DEFENSE punishes hesitation: if you break your corner hold to glance down at the weapon, you lose the angle before the first round leaves the barrel. The controls and layout reference lists the default bindings and shows how to rebind the selector to a key your support hand can reach without releasing the movement keys — a small change that lets you drop from automatic to semi-auto the instant contact shifts from inside the room to down the hallway.
When Automatic Fire Actually Helps
Automatic fire is not a mistake, it is a tool with a narrow window. Use it when an attacker crosses the threshold and you are within a couple of meters, because at that distance the spread barely matters and the volume of fire stops them before they can line up a shot. The instant the threat drops, switch back to semi so you are ready for the next approach at range.
The trap is leaving it on auto out of panic. Players who do this burn their magazine on the first attacker and then have nothing for the second one coming through the same door. Practice the switch until it is automatic, and treat full auto as a close-quarters emergency setting rather than your default.
Accuracy Tips That Hold Up Under Pressure
Accuracy in a defensive hold comes from three things: a stable stance, controlled trigger discipline, and knowing when to hip fire instead of aiming. You will not out-aim a nervous spray, so build the habit of slowing down for the first shot and letting the rest follow.
-
Plant before you fire. Stop moving the instant you commit to a shot, because movement spread is the biggest hidden accuracy penalty in close quarters.
-
Aim at the center mass, not the head. Realistic damage rewards reliable hits over highlight-reel shots, and center mass is where your rounds land when adrenaline shakes your aim.
-
Reset between bursts. Let the weapon settle for a beat before the next burst so your follow-up rounds stay on target instead of climbing over the enemy.
-
Pre-aim the funnel. Keep your crosshair at the height an attacker's chest will appear, not on the floor, so you do not waste the first fraction of a second lifting your aim.
-
Use hip fire only at arm's length. Hip fire trades precision for speed, and it is only worth it when the enemy is close enough that you cannot miss.
Hip Fire vs Aiming Down Sights
Hip fire is faster to start but far less precise, and the trade only pays off at point-blank distance. If an attacker surprises you coming around a corner inside your room, hip fire lets you put rounds out before your sights are up. At any real distance, though, aiming down sights is the correct choice because the tighter spread is what turns a near-miss into a hit.
A practical way to train this is to set a rule for yourself: hip fire inside the room, aim down sights at the doorway and beyond. That single rule removes the hesitation that costs players the first exchange, and it pairs well with the accuracy drills in the advanced improvement guide.
Building a Layered Defense Room by Room
The strongest defense is not one perfect corner, it is a layered fallback plan. You hold the outer room first, fall back to the hallway when it gets pushed, and finish in the last room with the tightest angles. Each layer buys you time and forces the attacker to re-clear space, which is where they make mistakes.
Map your home into three zones before the round starts: the outer room for first contact, the hallway or stairs as your choke point, and the last room as the final stand. Walk each zone and pick your exact corner now, because deciding mid-fight costs you the peek. In the outer room, favor a doorway-adjacent corner that keeps an exit behind you so you can break contact instead of trading in the open. At the choke point, commit to a long sightline backed by hard cover, and switch to semi-auto for controlled taps rather than spraying automatic fire down a narrow lane where recoil throws your shots high. In the last room, choose the tight corner that covers the only entrance, so a flanker has no angle to exploit while you hold.
| Zone | Purpose | Positioning Priority |
|---|---|---|
| Outer room | First contact, slow the push | Doorway-adjacent corner with an exit |
| Hallway or stairs | Choke point, trade kills | Long sightline with hard cover |
| Last room | Final stand | Tight corner covering the only entrance |
The outer room is where you spend the first shots, but do not treat it as a hill to die on. The moment you take damage or hear a second attacker, fall back to the choke point, because a hallway compresses the enemy into a predictable line while you keep cover. The last room should have exactly one entrance you can watch, so nobody can flank you while you finish the fight.
Detecting a Probe vs a Group Breach
Listen for the difference between a single attacker probing a door and a group committing to a breach. A lone scout usually peeks and retreats, which is your cue to hold and not overcommit. A group push comes with multiple footsteps and often a thrown item first, which is your cue to fall back immediately rather than trade shots in the open.
Repositioning is not retreating in shame, it is the whole point of a layered defense. Every time you fall back to a prepared angle, you reset the fight on your terms and force the attacker to solve a new problem. Players who stay glued to one corner because it worked once are the ones who get flanked and lose the house.
Frequently Asked Questions
What is the best defensive position in REALISTIC HOME DEFENSE?
A deep corner with a hard backstop and a single approach is the strongest position, because it hides most of your body while letting you watch the only way an attacker can come. Avoid open room centers and corners with two open sides, since those expose you to angles you cannot cover alone.
How do I hold a corner without getting flanked?
Hold corners that have an exit route and only one approach you need to watch. Reposition the moment you hear footsteps from a second direction, and never bury yourself so deep that you cannot fall back. Layering your defense room by room keeps a flank from ending your round.
Should I use automatic fire when defending a doorway?
Only at very close range, when the attacker is already inside your room. Automatic fire sprays a wide cone that misses at distance, so switch to semi or burst for hallway and stairwell holds. Treat full auto as a close-quarters emergency setting, then switch back immediately.
Do peeking tips actually matter in close-quarters fights?
Yes, because predictable peeks get pre-aimed. Peek, confirm, retreat, then re-peek from a different height or side so the attacker has to re-acquire you. Varying your timing and angle is what turns a peek into an advantage instead of a free kill for the enemy.
Is hip fire ever better than aiming down sights?
Hip fire is only better at arm's length, where the speed of getting rounds out beats the precision of aiming. At the doorway and beyond, aiming down sights keeps your spread tight enough to land hits. A simple rule is hip fire inside the room and aim down sights past the threshold.
Defensive positioning in REALISTIC HOME DEFENSE comes down to making the map do the work: pick corners that funnel attackers, vary your peeks so they cannot be pre-aimed, and switch fire modes to match the distance of each fight. Layer your defense room by room, fall back to prepared angles instead of dying in the open, and your home becomes a trap that punishes every push.