
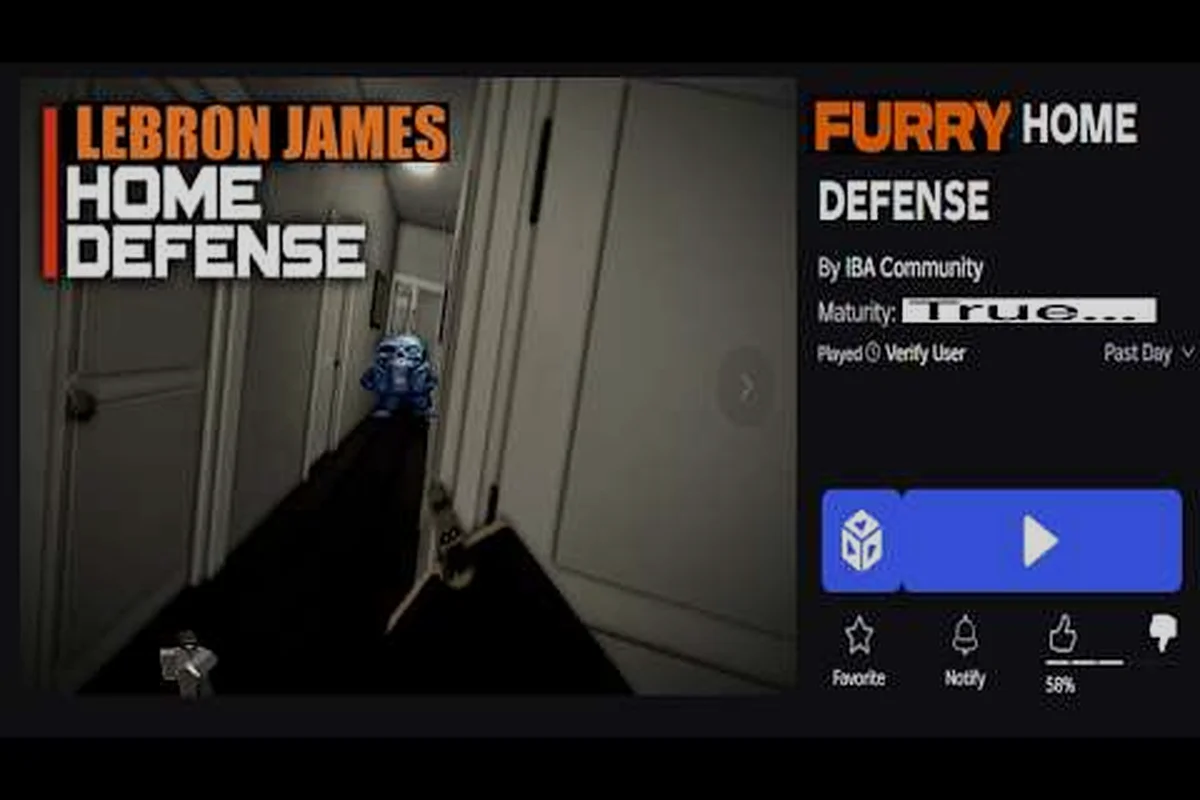
A solid REALISTIC HOME DEFENSE tactics guide starts with one truth: the house is only as strong as the doorway you refuse to give up. This breakdown covers choke-point setups, callout discipline, and winning tips that keep your team alive when the pressure spikes.
The game is a first-person tactical shooter on Roblox, built around realistic weapon handling and tight indoor fights, so raw aim alone won't save you. What separates a clean hold from a chaotic wipe is positioning, communication, and knowing which hallway to surrender and which to defend to the last round. Everything below is built for players who already know the controls and want a repeatable system instead of lucky clutches.
Why Choke Points Decide Every REALISTIC HOME DEFENSE Round
The core of any REALISTIC HOME DEFENSE tactics guide is map control, and indoors that means controlling doorways rather than rooms. A choke point is any narrow opening — a single door, a stairwell landing, a hallway bend — where attackers must funnel through one at a time. When you hold a choke, you force enemies into a predictable line while you keep cover, cover angle, and reload timing on your side.
Community gameplay footage, including Jokerchef's "Defend your home!" clip, shows how quickly a defense collapses when players spread into open rooms instead of stacking behind cover. The pattern is consistent: teams that anchor on doorways survive longer than teams that roam.
Here's how the main defensive positions compare: a high-cover, short-sightline anchor like an interior doorway minimizes the angles you must watch, so a solo player can hold it with a single weapon lane and predictable reload timing, while a low-cover, long-sightline spot like an open living room exposes you to multiple approach vectors at once. The stairwell landing trades cover quality for vertical sightlines, which is why it's best reserved for denying flanks rather than primary holds, and the hallway bend splits the difference — high cover with medium sightlines that let you set up crossfire without overextending.
| Position Type | Cover Quality | Sightline Length | Risk Level | Best For |
|---|---|---|---|---|
| Interior doorway | High | Short | Low | Anchoring a solo hold |
| Stairwell landing | Medium | Vertical | Medium | Denying flanks |
| Hallway bend | High | Medium | Low | Crossfire setups |
| Open living room | Low | Long | High | Rotating only |
| Back room window | Medium | Long | Medium | Early warning |
The takeaway is simple: doorway anchors beat open-floor heroics almost every time, and most community gameplay clips show the first collapse starting at an open position rather than a held doorway. The pattern holds whether you play solo or with a full squad, though exact outcomes vary with attacker count and how open the room layouts are — treat it as a strong tendency confirmed by actual matches, and adapt if a particular house plays differently in-game. If you find yourself standing in the middle of a room with no wall at your shoulder, you're already losing the trade before the first shot.
Reading the Funnel Before Contact
Before the first enemy appears, walk your defensive line and ask one question per opening: can two attackers push this at once? If yes, it's not a choke — it's a liability. Narrow entries with a wall on one side and furniture on the other are ideal because they cut the attacker's usable angle in half.
Players report that the most reliable holds come from positions where you can see the door but the door can't see all of you. That half-body peek behind a frame is worth more than any weapon upgrade, because it lets you fire first while exposing almost nothing.
REALISTIC HOME DEFENSE Winning Tips for Holding the House
Winning tips in this game rarely involve aggression. They involve patience, resource discipline, and never giving the enemy a free angle. The teams that win rounds are the ones that treat every doorway as a contract: you hold it, you don't wander past it, and you call out the moment it changes.
Weapon handling matters here too. Realistic recoil and reload timing mean a missed spray costs you the fight, so short controlled bursts at choke distance outperform long automatic dumps. If you want a deeper breakdown of movement and gunplay fundamentals, the gameplay guide on playing better covers the mechanics that pair with these positions.
| Habit | Why It Wins | Common Mistake |
|---|---|---|
| Pre-aim the doorway | First shot lands before enemy reacts | Aiming at the floor while walking |
| Reload behind cover | Never caught empty in the open | Reloading mid-hallway |
| Hold, don't chase | Keeps your angle intact | Sprinting after a retreating enemy |
| Call contact once | Team rotates without panic | Silent deaths and guesswork |
| Reset after a kill | Prevents overextension | Pushing the next room alone |
Each of these is small on its own, but stacked together they turn a shaky defense into a wall. The single biggest upgrade most players can make is reloading behind cover — it's boring, and it saves more rounds than any aim drill.
Managing Ammo and Reload Windows
Realistic shooters punish panic. If you empty a magazine into a doorway and nothing drops, the correct response is to break line of sight, reload, and re-peek — not to stand there cycling the bolt in the open. Treat every reload as a two-second vulnerability window and plan it around cover.
A useful rule: never reload with an enemy visible. If you must, back into the room, use the wall as a shield, and re-announce your position to the team so nobody assumes the door is still covered. The reason is timing: a standard magazine swap runs roughly two seconds, and that is two full seconds where your muzzle is pointed at the floor and your sightline is broken. Backing into the room converts that dead window into a covered one — the doorframe becomes your hard cover, and a single callout like "reloading, door open" stops a teammate from pushing past you into an unguarded angle.
Team Callouts That Actually Work in REALISTIC HOME DEFENSE
Callouts are the difference between a coordinated hold and four people guessing. The best callout system is short, consistent, and tied to fixed landmarks in the house — not to compass directions nobody checks mid-fight. Pick names for each doorway, stairwell, and room on your first rotation, then use those names for the rest of the match.
Multi-session gameplay like Scarlet Shadow's part 2 let's-play illustrates how round-by-round communication shapes outcomes: teams that repeat the same landmark names rotate faster and trade kills more cleanly than teams improvising every call. Community uploads like these are not official patch data, so treat the pattern as a strong tendency rather than a guarantee — exact results shift with squad size, house layout, and the skill of the groups involved. Run your own test over a few sessions and compare how fast your team rotates when everyone sticks to the agreed names in-game.
| Callout Type | Example | When to Use |
|---|---|---|
| Contact | "One, front door" | Enemy spotted at a known entry |
| Count | "Two pushing stairs" | Multiple enemies confirmed |
| Status | "Reloading, cover me" | You're vulnerable for a moment |
| Rotation | "Falling back to back room" | Giving up a position on purpose |
| Clear | "Door clear" | Position is safe to reoccupy |
Keep calls under four words — "two stairs," "front door," "reloading" — because long sentences get lost in gunfire, and a callout nobody hears is worse than no callout at all. Landmark names should be decided before the round starts, not invented mid-fight: lock in your doorway, stairwell, and back-room labels on the first rotation, then reuse them every round so a "falling back to back room" rotation call lands instantly instead of costing a half-second of translation. The payoff shows in the trade column — teams running fixed names rotate faster and trade kills more cleanly than squads improvising each call, which is exactly why the table above pairs every callout type with a landmark rather than a compass bearing.
Assigning Roles Without Overcomplicating
You don't need a formal squad structure to defend effectively. Three simple roles cover most situations: an anchor who never leaves the main choke, a floater who rotates to wherever contact is called, and a watcher who covers the flank or secondary entry. Rotate roles between rounds so nobody gets stuck on the least popular job.
If your team keeps collapsing on one side, the floater is usually the fix — a single player who can reinforce a failing doorway turns a two-front disaster into a manageable single push. The advanced guide to getting better digs into role discipline and decision-making under pressure.
Positioning Mistakes That Lose REALISTIC HOME DEFENSE Matches
Most losses in this game trace back to a handful of repeatable positioning errors. Fixing them is faster than improving aim, and the payoff shows up immediately in round survival. The table below maps the most common mistakes to their fixes.
| Mistake | What It Costs | Fix |
|---|---|---|
| Stacking one doorway | Flank goes unwatched | Split coverage across two entries |
| Standing in open floor | Free kill for attackers | Always keep a wall at your shoulder |
| Chasing kills | Abandons your angle | Hold position, let them come |
| Ignoring audio | Surprised by flanks | Listen for footsteps and reloads |
| No fallback plan | Total collapse on a push | Pre-plan a back-room retreat |
The stacking problem is the most common and the most costly. Four players watching one door means three doors are effectively undefended, and a competent attacking team will find the empty one every time. It compounds fast: with no one holding the flank, attackers walk the unguarded entry, clear the back room, and hit your stacked group from behind while it is still facing the wrong way — turning a four-man advantage into a wipe in under ten seconds. The fix is the split-coverage rule from the table above: assign two entries minimum, keep one defender on audio watch for footsteps and reloads, and rotate only when a callout confirms contact.
When to Give Up Ground on Purpose
Sometimes the right move is to lose a room. If a doorway is being pushed by multiple attackers and your cover is compromised, falling back to a tighter choke deeper in the house resets the fight in your favor. Attackers who overextend into a fresh angle often walk into a crossfire they didn't expect.
The key is to call the retreat before it becomes a rout, and that call has to be rehearsed, not improvised. A planned fallback keeps your team organized: assign a verbal signal, designate who covers the hallway while the others move, and pre-select the choke point — a stairwell landing or a bedroom with a single entry — so nobody has to decide under fire. A panicked retreat scatters everyone into separate rooms where they die alone, cut off from the crossfire that made the deeper position strong in the first place. Treat the fallback as a fighting withdrawal, not a flight: the rear guard keeps a muzzle trained on the doorway you just abandoned, and the team reconstitutes on the choke before the attackers realize the angle has shifted.
Building a Repeatable Defensive Setup
A defensive setup you can rebuild every round beats a clever one-off. Start with three fixed anchors — front entry, stairwell, back room — and assign one player to each. The fourth player floats between whichever two are closest. This structure survives player losses better than a roaming squad because every position has a clear owner.
That broader loop matters because your loadout budget is what makes the three-anchor setup sustainable across rounds: the survival guide walkthrough explains how economy and progression systems gate which weapons, armor, and utility you can actually field at each anchor, so a front entry that holds on round one doesn't collapse on round four when you can't re-buy the same kit. Treat the rebuild times in the table below as your spending priority — the instant front entry and back room anchors need the least investment to stay functional, while the stairwell watcher's 5-second reset is where a cheap sidearm and a single piece of utility earn their keep. If you're chasing realistic home defense winning tips, plan purchases around the anchors you can afford to re-arm, not the ones you wish you could.
| Setup Element | Purpose | Rebuild Time |
|---|---|---|
| Front entry anchor | Stops the main push | Instant |
| Stairwell watcher | Denies vertical flank | 5 seconds |
| Back room anchor | Last line of defense | Instant |
| Floater | Reinforces weak side | Continuous |
Practice the setup in a private round or a low-stakes match until the positions feel automatic. Muscle memory for positioning is worth more than any single weapon choice, because it lets you react to contact without thinking about where to stand.
Adapting When the Enemy Reads Your Setup
Any fixed setup can be countered once attackers learn it. The answer isn't to abandon structure — it's to shift one anchor without breaking the whole formation. If the enemy keeps hitting the back room, move the floater there permanently and let the front anchor hold solo with a tighter angle.
Rotating one piece at a time keeps your team coordinated while denying the enemy their read. Shift the floater first, then move an anchor only after the replacement position is manned, so someone is always covering the old angle while the team resets. Community runs suggest single-position swaps hold better than full reworks, though that depends on your squad's coordination and how patient the attackers are — confirm what works for your group in practice before changing more than one anchor per round. The latest guide to basics is a good refresher if you're still locking down the fundamentals before layering in these adjustments.
Frequently Asked Questions
What is the most important tactic in REALISTIC HOME DEFENSE?
Holding choke points is the single most valuable tactic, because doorways force attackers into predictable lines while you keep cover. Pair that with short, consistent callouts and you'll win more rounds than players relying on aim alone. Positioning beats reflexes in almost every indoor engagement.
How many players should guard each doorway?
One anchor per main entry is enough if the doorway is narrow. Keep a floater free to reinforce whichever side gets pushed, and never stack three or four players on a single door. Spread coverage so no entry goes unwatched, and rotate the floater toward contact.
Do callouts really matter in a Roblox shooter?
Yes. Short landmark-based calls let your team rotate without guessing, which is the difference between a coordinated hold and four separate fights. Keep calls under four words, use fixed room names, and announce reloads so teammates know when a doorway is briefly uncovered.
How do I stop losing to flanks?
Assign one player to watch the secondary entry or stairwell, and listen for footsteps before contact. If a flank keeps succeeding, move your floater there permanently and tighten your main anchor's angle. Planned fallbacks to a deeper choke also reset fights that are already going badly.
What should I do when my whole team gets wiped in one push?
Review which doorway collapsed first and whether anyone called it. Most wipes start with an unwatched entry or a player chasing a kill out of position. Fix that one habit, rebuild the three-anchor setup, and the next push will meet resistance instead of an open floor.
Final Thoughts on Holding the House
This REALISTIC HOME DEFENSE tactics guide boils down to a simple loop: anchor the doorways, call contact in four words or fewer, reload behind cover, and fall back on purpose instead of in panic. Those habits compound, and a team that drills them will outlast a team with better aim but worse discipline. The house doesn't fall because attackers are strong — it falls because a doorway went unwatched. Keep every entry owned, keep your calls short, and the defense holds.